


How to Install Voice Chat on Your Minecraft Server
- HolyHosting

- Oct 27, 2025
- 1 min read
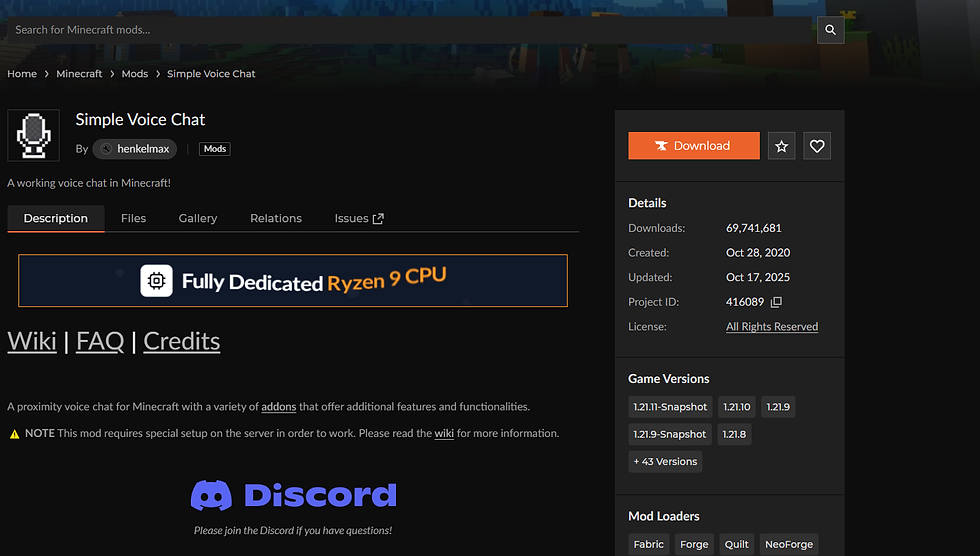
1. First, download the "Simple Voice Chat Mod." You can find it on websites like CurseForge or the developer’s official page: https://www.curseforge.com/minecraft/mc-mods/simple-voice-chat.
2. Next, make sure Minecraft Forge is installed on your server. This mod requires Forge to run.
3. Open the "Files" section from the left-hand menu, go to the "mods" folder, and copy the mod’s .jar file into that folder.

4. Restart your Minecraft server. The mod will automatically load and generate the necessary configuration files.
5. Open the port specified in the mod’s configuration via your control panel. Go to the "Network" tab in the left-hand menu, click "Create allocation", and enter the port you configured in the mod.
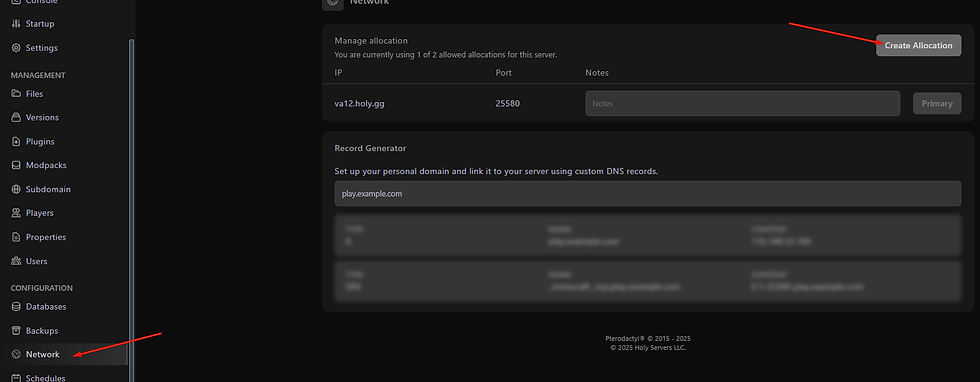
6. Restart the Minecraft server so it recognizes the new port. After it starts, shut it down again, go back to "Ports", and set the new port as the primary one.
7. Now you can configure the mod in-game. In your game options menu, go to "Controls" and find the Simple Voice Chat Mod options. Set your keybinds to talk and listen in voice chat.
And that’s it! Simple Voice Chat Mod is now installed and configured on your Minecraft server.
Conclusion
We hope this guide has been helpful! 🚀 Remember, don’t hesitate to ask questions on the HolyHosting Discord or contact our support team.
Follow us on Twitter @HolyHosting to stay up to date.

Stuffy @ HolyHosting